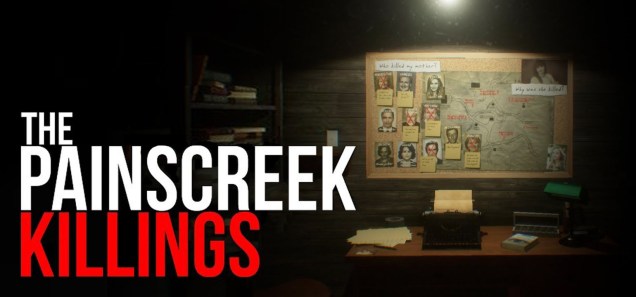
I’m in the midst of analyzing the detective game The Painscreek Killings (EQ Studios, 2017) right now, and as part of my process I ended up creating a quite detailed walkthrough. Since the work was already done, I figured I’d paste it over here, throw on some spoiler tags, and share it with the world. Might as well be generous.
There are a couple of other walkthroughs for Painscreek Killings out there, including this one here and this one here. I thought there was room on the internet for another walkthrough, though—one that was compact and consistently formatted. What follows are streamlined but nonetheless thorough details on how to proceed through the game.
Here’s a breakdown of how I’ve labeled things below:
A gate is anything that obstructs your progress—usually a locked door, locked drawer, or literal locked gate.
Keys are absolutely necessary to get past a given gate in the game. These can be key items (literal physical keys, usually) that get added to your inventory, or key info (codes and puzzle hints) that often does not.
Clues point you in the direction of keys and solutions. They are not, however, mandatory. It is always possible (if unlikely) to stumble your way to the things indicated by clues just by exploring the world.
Embedded keys and clues are bits of information attached to an object that are important, but might not be immediately apparent: the date of a correspondence, a number stamped on a keepsake, a code mentioned in the pages of a diary, and the like.
Because of the nature of the game’s design (which is what I’m attempting to describe in my analysis), there is always going to be some amount of backtracking involved in it. The order I’ve listed the game’s locations in below minimizes backtracking as best as possible, without eliminating it.
Happy detecting!
